In today’s tutorial, we’ll learn how to use the Crop Tool in Photoshop. Whether you need to trim, straighten, or even expand your image—mastering cropping can help elevate your photos and design work in Photoshop.
How to Crop in Photoshop Outline
0:00 How to crop in Photoshop
3:10 How to crop a circle in Photoshop
3:56 How to straighten an image using the crop tool in Photoshop
4:59 How to crop a single layer in Photoshop
6:47 How to use non-destructive cropping in Photoshop
7:45 How to crop using generative expand in Photoshop
Summary
In this tutorial, the instructor provides a comprehensive guide on how to effectively use the crop tool in Photoshop. The video starts with the basic selection of the crop tool and demonstrates how to resize and reposition images.
It covers essential functions like maintaining aspect ratios, changing crop overlays, and understanding the non-destructive cropping feature. The tutorial also explores advanced techniques such as cropping circular shapes, straightening images, and cropping specific layers without affecting background layers.
Finally, it introduces the innovative generative expand feature, allowing users to expand images creatively.
Transcript
How to Crop an Image in Photoshop
In today’s tutorial we’ll learn how to use the crop tool in Photoshop whether you need to trim straighten or even expand your image mastering cropping can help elevate your photos and design work in Photoshop.
We’ll start by selecting the crop tool from the tool panel you can also press “C” to select it using your keyboard. To crop my image I click and drag the crop box—this changes the image’s dimensions. The crop will keep the area inside the border while removing the darker area outside the border. In addition to adjusting my crop box I can also click inside the crop border and move the image around. Once I’m satisfied I press “enter” or “return” on a Mac. You’ll notice it not only cropped the image but it also resized my canvas. Let’s go ahead and undo my crop and explore some other features of the crop tool.
If I’d like to keep the aspect ratio when resizing my crop I can hold “shift.” This will lock in the aspect ratio as I make my adjustments. If I want to resize from the center of my crop then I hold “alt” or “option” on the Mac while resizing. I can lock the aspect ratio and resize from the center of my crop by holding “shift” plus “alt” or “option” on a Mac.

I can also set the aspect ratio size and resolution for my crop from the crop options menu. For example, if I click ratio and then select 1:1 you’ll notice my crop boundary maintains a square 1:1 ratio. Selecting a specific size for your crop can be helpful when resizing for prints, social media, or other design cases where you need specific dimensions for your image.
If I’d like to change the crop overlay they are a handful of options. Click the overlay icon in the crop options menu to select a different overlay. I’ll go ahead and change my overlay from the rule of thirds to the golden spiral as an example. I can also turn the overlay off if I prefer.
Here are a couple of other noteworthy features: the crop tool doesn’t delete anything until I press “enter” or “return” on a Mac, or I press the check mark icon in my crop options menu. I can also reset my crop box image rotation and aspect ratio settings by clicking the reset icon in the crop menu. Or, I can cancel my crop altogether by pressing the cancel icon in the crop menu.
How to Crop a Circle in Photoshop
Let’s take a look at how you can crop a circle in Photoshop. Start by selecting the marquee tool. There are several shapes to choose from—you’ll want to select the elliptical marquee tool. Next, hold “shift” and drag your circle as desired.

You may want to adjust your circle by moving it around. When you’re ready, go ahead and click the layer mask icon. Then go to image and select trim from the dropdown. This will crop your image. Lastly, don’t forget to save or export your image as a PNG to preserve its transparency.
How to Straighten an Image Using the Crop Tool in Photoshop
You can also use the crop tool to straighten an image in Photoshop. I’ll start by selecting my crop tool using “C” on my keyboard. Next, I’ll click my cursor outside of my crop boundary. You’ll notice rotation arrows appear if I click and hold. I can move my mouse to rotate my image. Once my image is straight I press “enter” or “return” on a Mac.
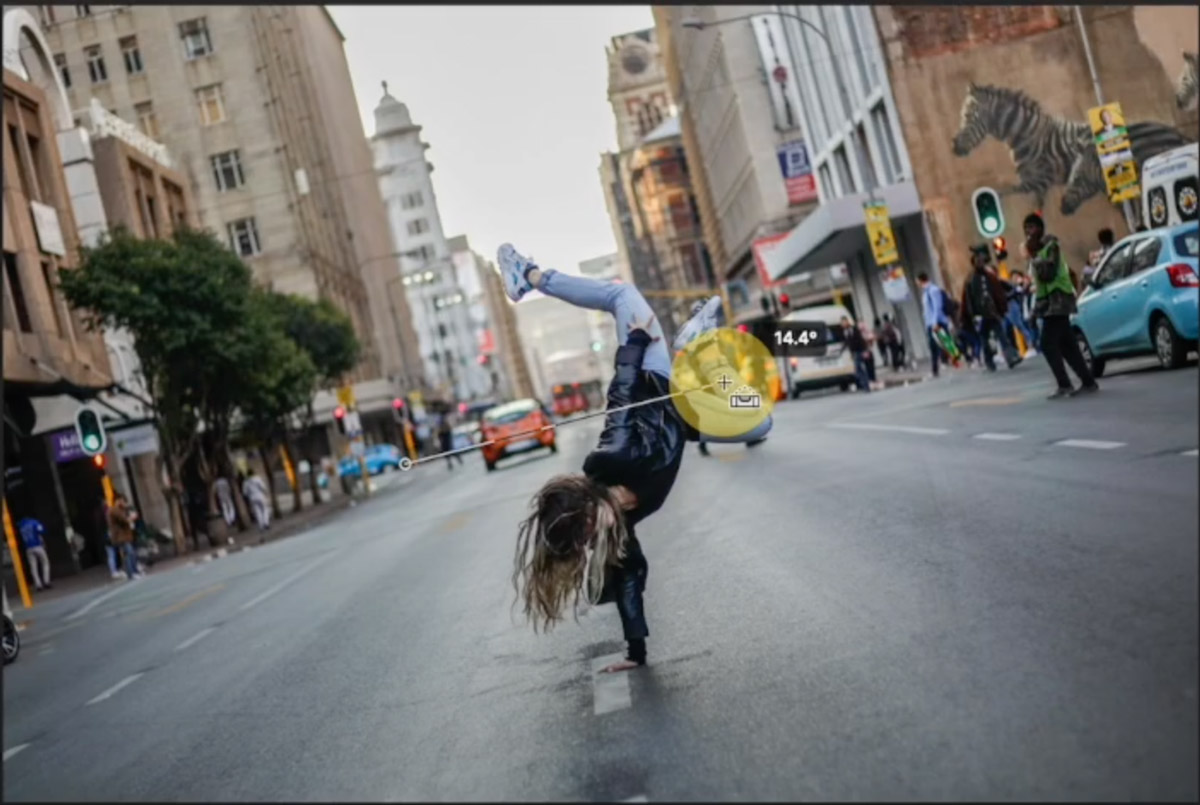
Another way to straighten an image is by using the straighten tool found in the crop options menu. I’ll go ahead and select it now. Once you’ve selected the straighten tool you’ll want to look for something in the image that should be straight horizontally or vertically. In this image that would be the road or perhaps the buildings. Now, click to draw a line. Press “enter” or “return” to accept the straightening and crop as needed.
How to Crop a Single Layer in Photoshop
Now let’s take a look at cropping a single layer. You’ll notice I have two layers: the background and layer one. If I simply use the crop tool on layer one you’ll see it crops both layers. I’ll go ahead and undo my crop and we’ll try another method.
This time instead of using the crop tool I will use the marquee tool. Start by selecting your desired layer then select the rectangular marquee tool and drag the shape on your image. Next, click the layer mask icon. You’ll notice it hides everything outside of the rectangle revealing the background layer below. The content isn’t erased though, it is simply hidden. You may want to adjust your initial dimensions.

To do this, first unlink your mask from the image. Next go to edit and select free transform from the dropdown. You can now adjust the size of your mask as needed. Once you’re happy with your dimensions press “enter” or “return” on a Mac.
To move your image around you’ll want to relink it to the mask first by clicking in between the image and the mask. Now, you can select the move tool and move the image around as desired. Unlike our initial crop you’ll notice my background layer is unaffected by these changes.
How to Use Non-destructive Cropping in Photoshop
Another cropping technique in Photoshop is non-destructive cropping. With this method photoshop hides the cropped area instead of deleting it.
I’ll start by selecting the crop tool by by pressing “C” on my keyboard. Next, I’ll look at my crop tool options and deselect “delete cropped pixels”. This tells Photoshop to maintain my image even after cropping.

Let’s give it a try by cropping my image. You’ll notice that after cropping I can still move my image around by selecting the move tool. Or, if I use the crop tool again it will reveal the full image and I can resize my crop. This is because Photoshop hasn’t deleted the cropped portions of my image.
How to Crop Using Generative Expand in Photoshop
Next we’ll use the crop tool to expand an image in Photoshop. In this demonstration, we’ll be using a feature called generative expand.
What if I wanted to expand my trail running image and give it a landscape orientation? So, rather than being tall I’m going to make it wide. First, I’ll select the crop tool by pressing “C” on my keyboard. Next, I’ll go to the fill option and select generative expand. Now it’s time to crop my photo. You’ll notice I’m cropping some areas that don’t exist yet.

After I’ve made my crop selection I press “enter” or “return” on a Mac. You can enter in more details about your expansion, but you don’t have to. In this case, I’ll let Photoshop figure out what is best and press generate. Once the image is done generating I’ll undo and redo so you can see the before and after.
Conclusion
Thanks for watching this Photoshop tutorial. I hope you’ve learned some helpful ways to crop in Photoshop. If you found this information helpful please like this video and subscribe to our channel. Thanks!